
Introduction
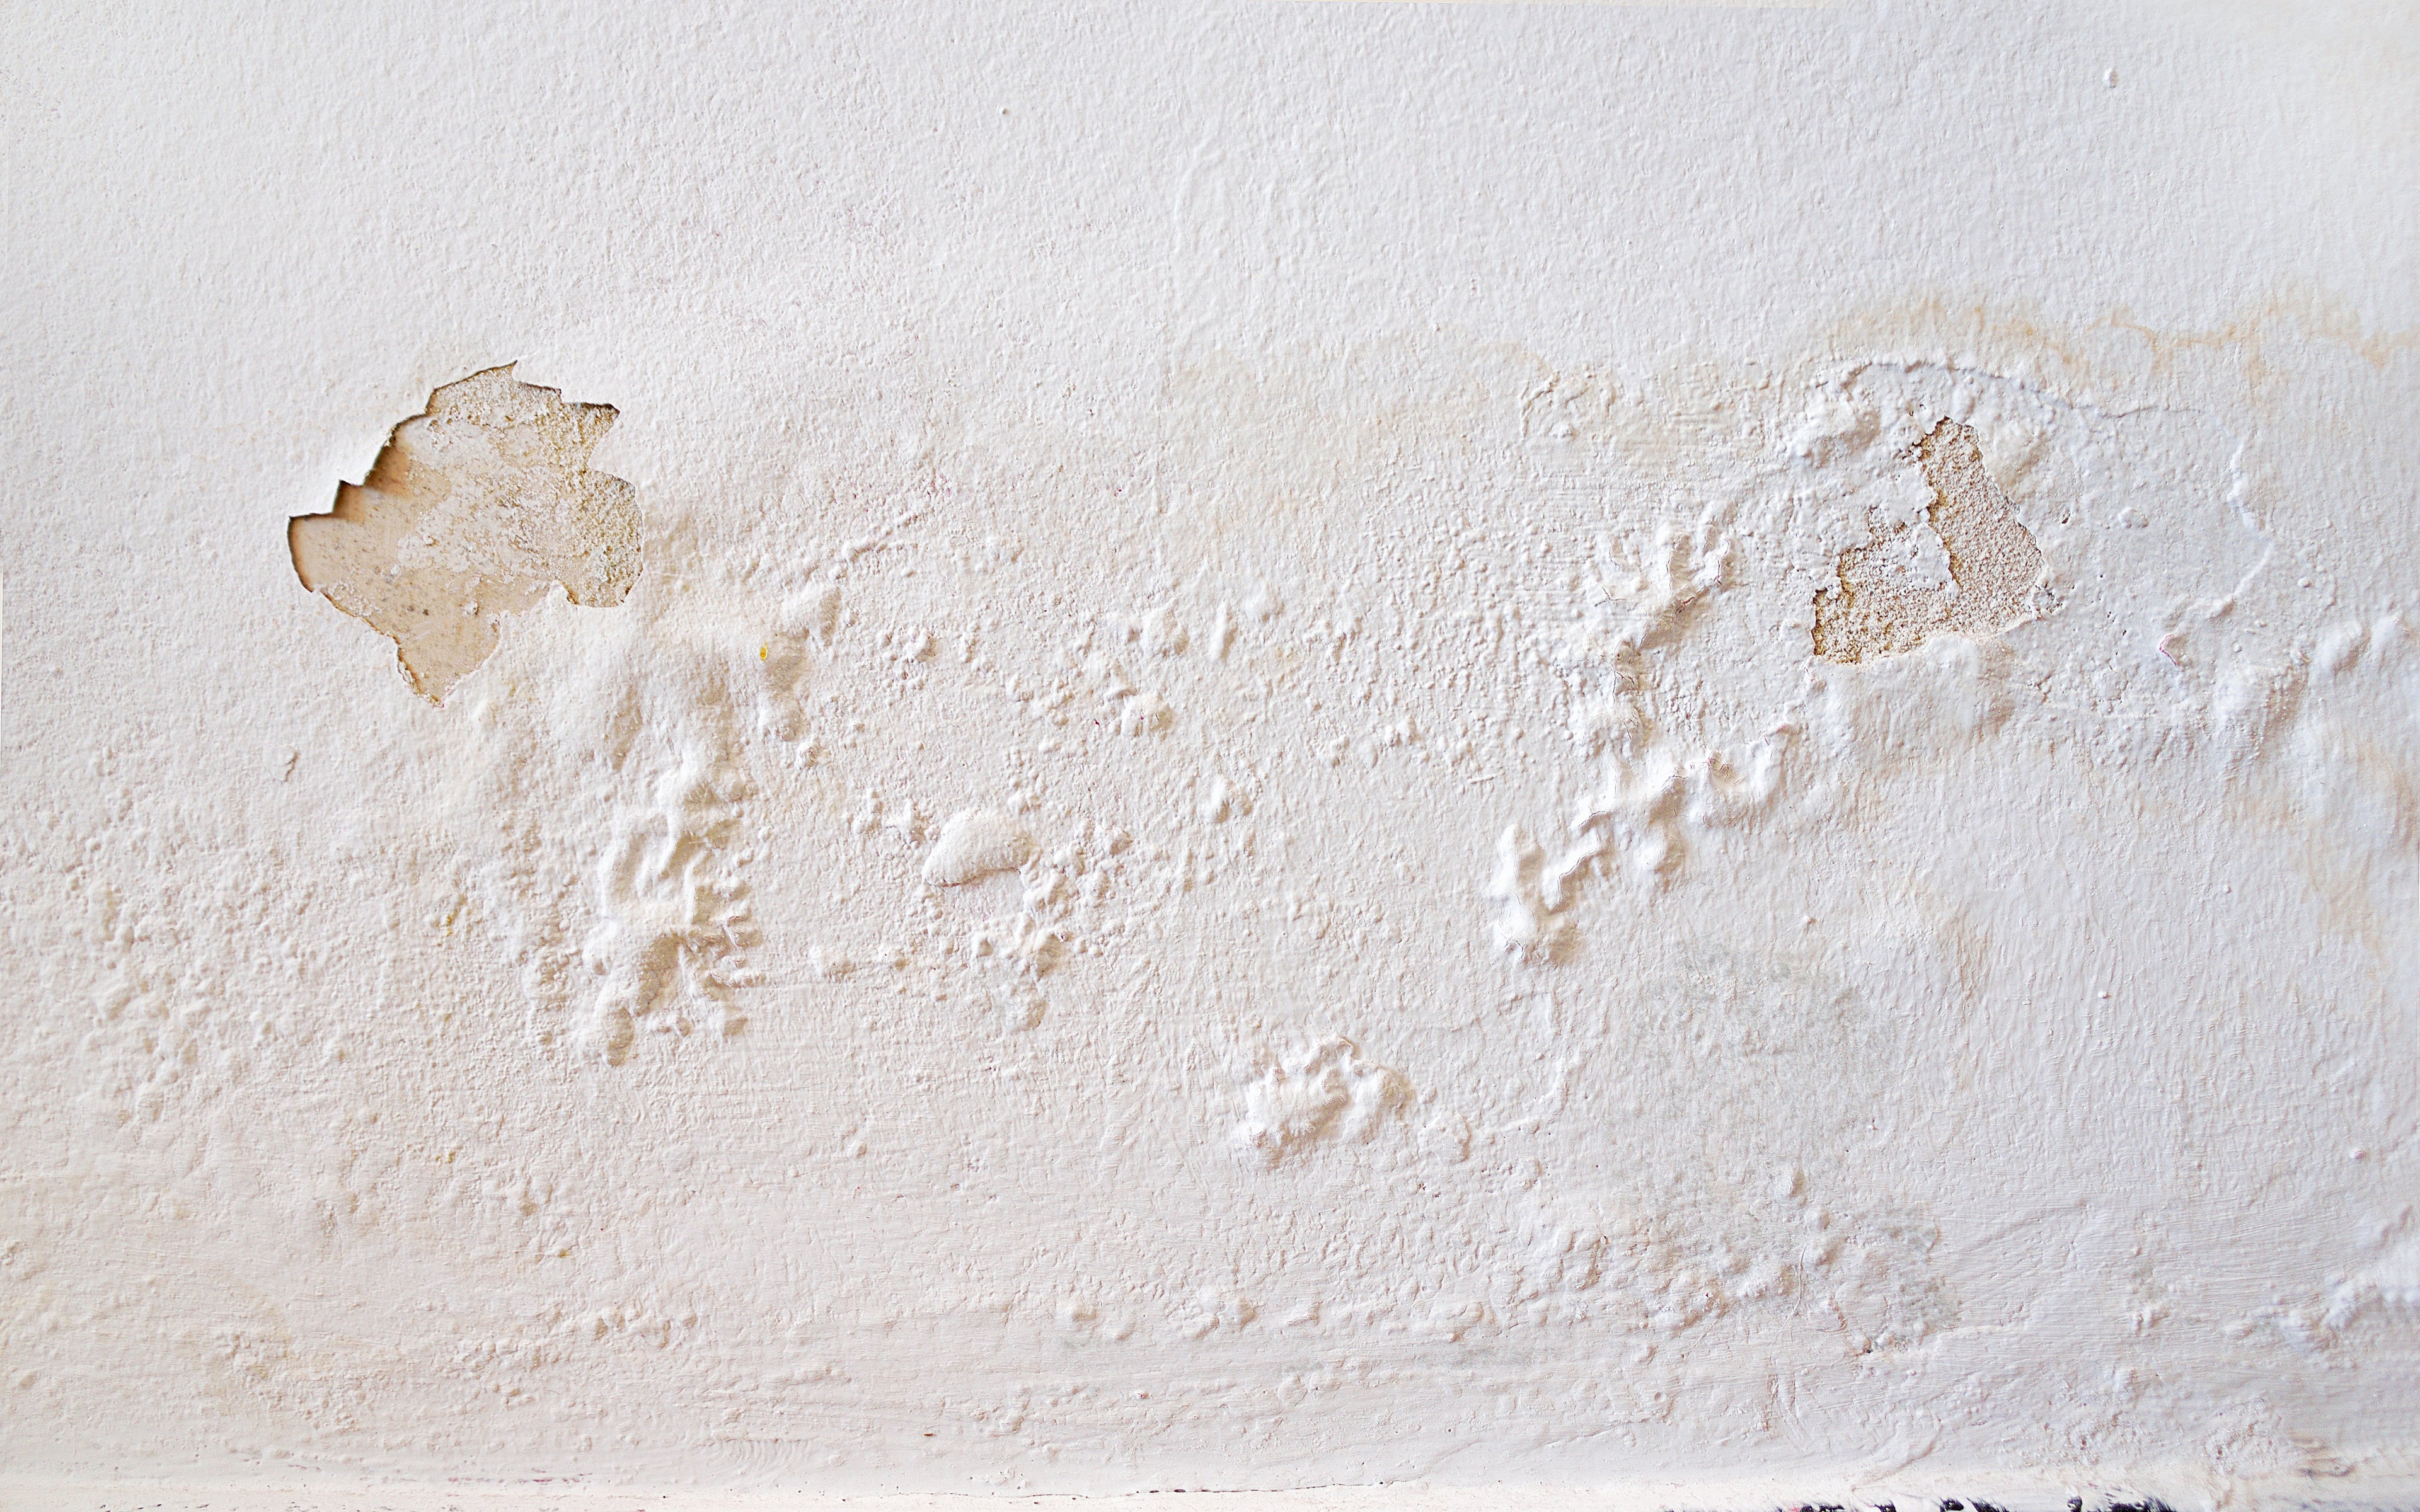
Around 904,000 homes in England have damp problems (Source the English Housing Survey). The most commonly-affected surfaces for mould, damp, and condensation were found to be windows, walls, and ceilings. If you’ve ever battled with damp walls, you know how frustrating it can be. Peeling paint, unsightly stains, and that musty smell—these are all signs of moisture problems that can damage your home and even affect your health.
Damp or Condensation? Key points to distinguish between the two
Location: Damp is typically found in areas where water ingress occurs due to structural issues, such as rising damp from the ground, penetrating damp from external leaks, or plumbing failures. Common locations include:
- Ground floors and lower walls (rising damp from moisture wicking up through brickwork or masonry).
- External walls and ceilings (penetrating damp from faulty roofing, cracks, or damaged brickwork).
- Around windows and doors (where seals or flashing have deteriorated).
- Near leaking pipes or appliances (such as under sinks, behind washing machines, or around water tanks).
Appearance: Dampness may show up as stains, discoloration, or dark patches on walls. It can also lead to mould growth and a musty smell.
Persistence: Dampness is often persistent and can occur at any time, not just during specific hours.
External Factors: Check the external surroundings for factors that could contribute to dampness.
Building History: If the building has a history of leaks, flooding, or drainage issues, dampness is more likely to occur.
How does Coo-Var Anti-Damp Paint Provide A Solution
Coo-Var Anti-Damp Paint provides an effective solution for damp surfaces by enhancing adhesion, controlling moisture, and preventing damp-related issues. Its unique formulation allows it to bind into the moisture within the wall, ensuring strong adhesion even on damp surfaces. The inclusion of Polite resin makes the paint breathable, allowing water vapour to pass through while maintaining durability. By incorporating hydrating fillers, the paint absorbs and retains moisture, gradually releasing it in a controlled manner to maintain a balanced moisture level. This helps to slow down the release of moisture, reducing the risk of dampness reoccurring. Additionally, the paint contains protective agents that prevent the growth of mould and mildew, offering long-term protection for walls and surfaces.
Guidance on application: Anti-Damp Paint
Step 1: Surface Preparation
Remove all the loose and flaking paint, take the area back to bare plaster.
Feather sound edges with a fine grade abrasive paper.
Remove all dust.
Step 3: Filling
For a smooth finish, fill the areas where the paint has been removed using a good quality poly filler, leave to dry before priming.
Step 4: Priming
Anti-damp paint functions as a primer, adhering effectively to damp surfaces and providing a lasting seal that blocks damp stains.
Apply by brush, roller or spray.
Step 5: Decoration
After 12 hours, you can apply your preferred decorative emulsion or wallpaper.
For more information Vist Anti-Damp Paint, and FAQ's.


